

A few days ago, after reading this post from A Beautiful Mess about how to craft your own Llama Vase from clay I have to admit I was feeling really inspired. I've always been a creative and thought a day with the boyfriend sculpting things from clay would make a lovely change from a traditional date. In the end we each had ideas of what we wanted to make and got to it and I have to admit I'm pretty happy with the end result for a first time attempt.

What You Will Need
Das Air-dry Clay
Paintbrushes
Acrylic Paint
A Pencil
A Mason Jar
Varnish (I Used Nail Varnish Top Coat If you Don't Have It or Can't Find It!)
Method
Firstly, we began by getting a section of clay (you can either pull a bit off like we did or if you want to be more technical you can use a piece of wire to get a perfect piece). After this we rolled it around in our hands in order to heat it up a little and get it nice and easy to shape.
Here's the fun part....
We started shaping our designs. I rolled out one piece and a shorter piece (for the cactus's arm) ensuring they were the correct size to fit my rings on. Use a flat side you don't mind getting a bit messy to roll out your cactus shape. Once you have two 'sausage' shapes you'll want to slightly bend the shorter arm to get that cactus shape. I then used a sharp pencil to create the lines of the cactus on each piece.
To put the cactus together I cross hatched the bottom of the arm and part of the cactus and wet it a little with a paint brush. I then pushed them together and held it there for a few minutes. Afterwards I left it lay down for a few hours.
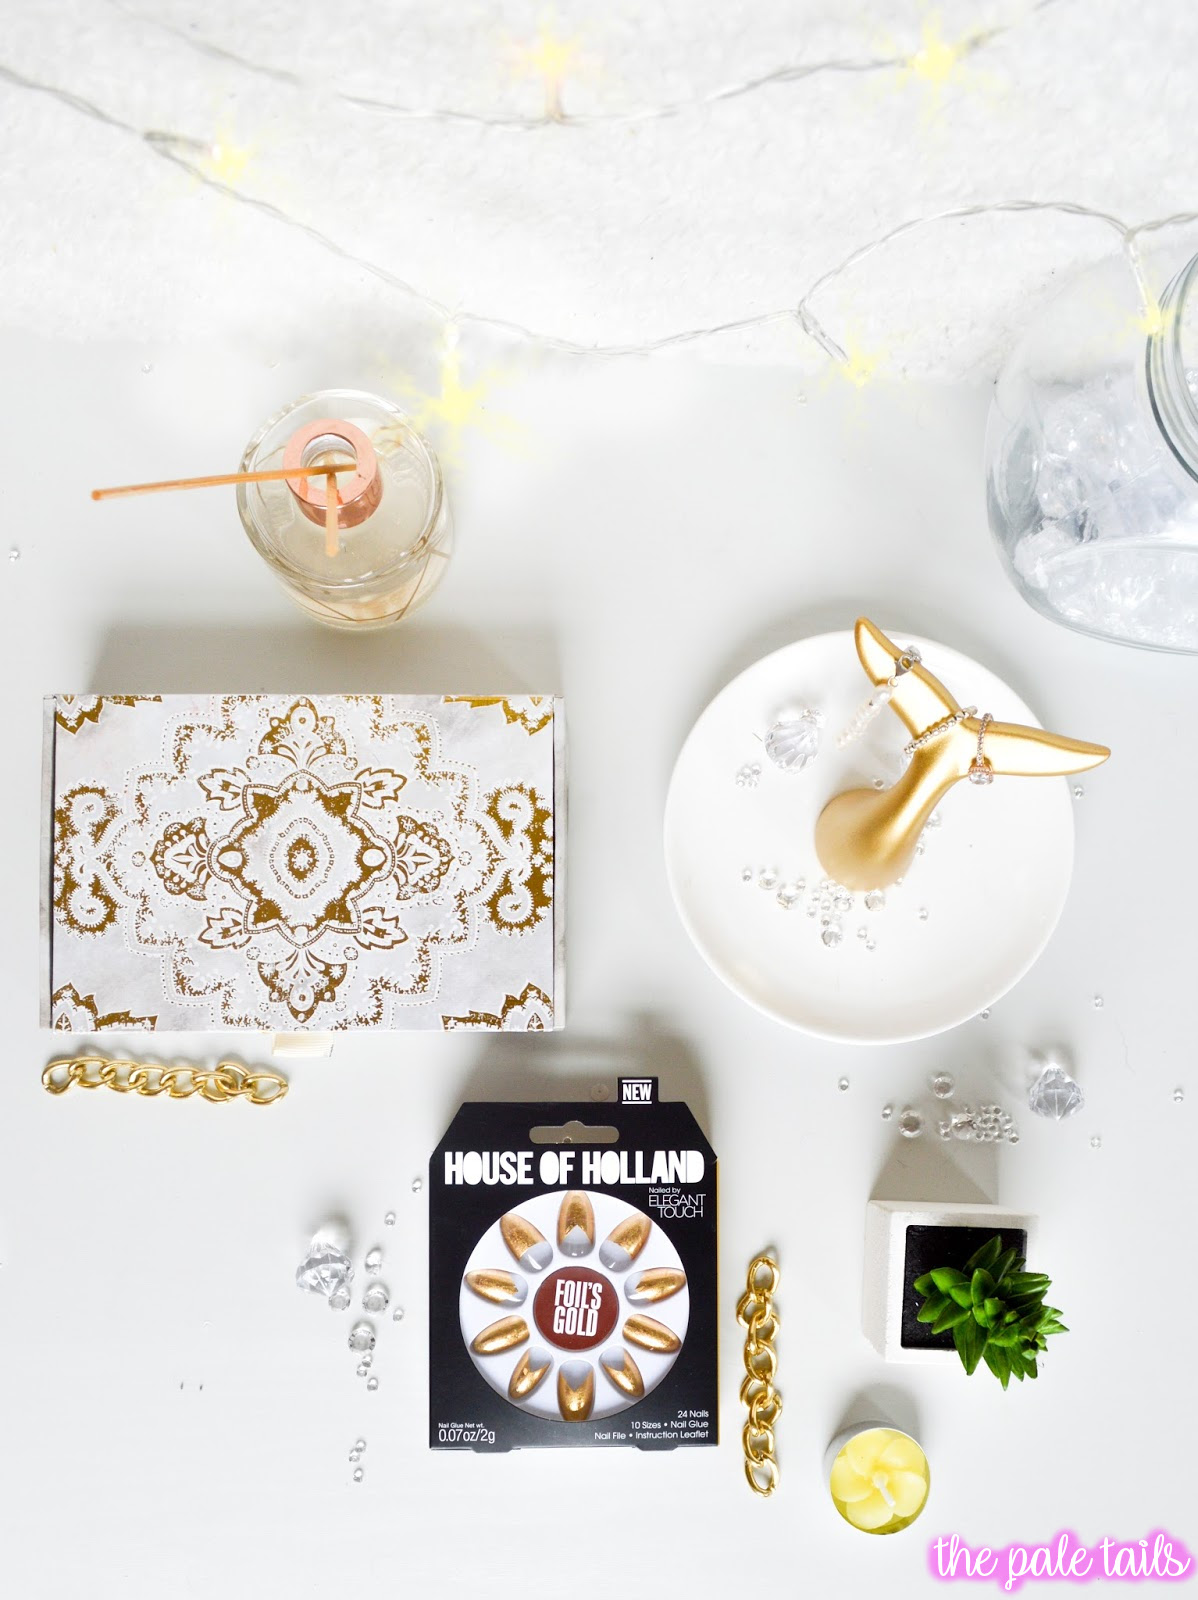
For the trinket, I got a piece of clay and cut it in to a circle using a glass I felt was an ideal size for my trinkets shape. After this, I placed it on an upside down mason jar to create a nice shape for it to hold all of my necklaces etc. I left it like this for a few hours.
After they had been left for a few hours, the trinket had chance to set in to shape a little and the cactus was now holding together.
I carefully cross hatched the bottom of the cactus and the middle of the trinket dish, applied water and put them together. I held it for a good few minutes to ensure it didn't topple over and let it set for 24 hours.
Now it's time to paint it! You can use any desired colours however I opted for a traditional green cactus and a copper trinket dish as copper is a really desirable colour at the moment.
Once applying a few layers ensuring it is evenly coloured all over I allowed it to dry. Once dry I applied a coat of varnish just to give it that added shine. Once done you're all set to put it to use! I was desperate for a ring holder/jewellery holder and now I have one.
Hope you all enjoyed this post - It's a bit of a deviation from what I normally write about however I thought you might enjoy seeing how to make a cute and fashionable lil' cactus.


This is such a cute idea! I am addicted to cactus and aloe vera plants and lord knows I need more cute storage for all the stackable rings I keep buying!!
ReplyDelete